
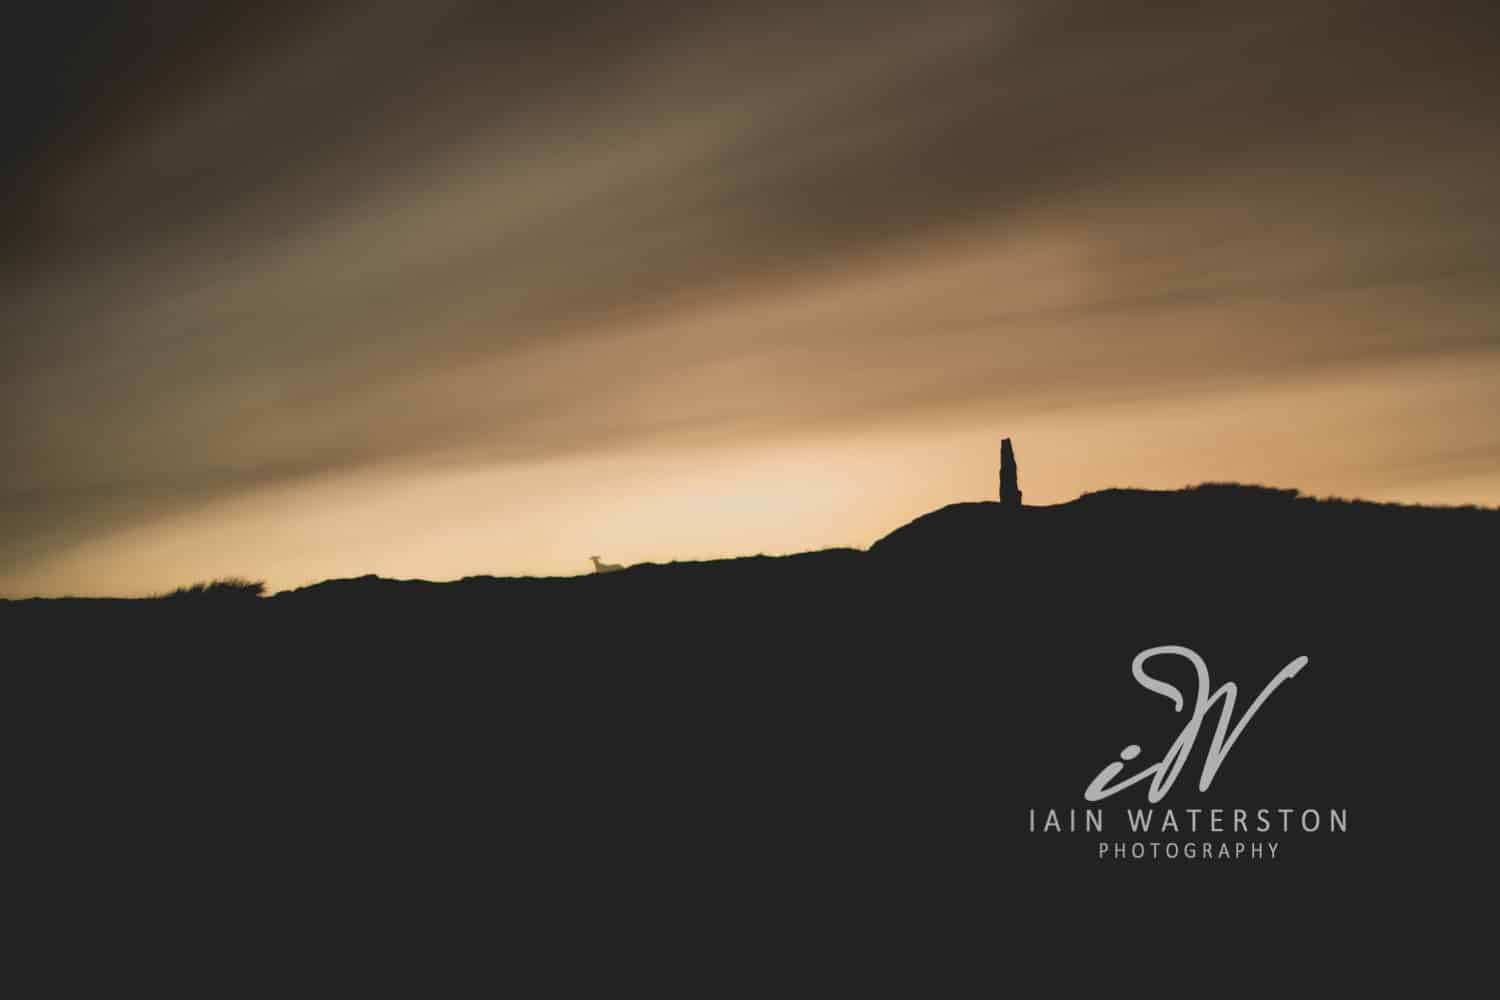
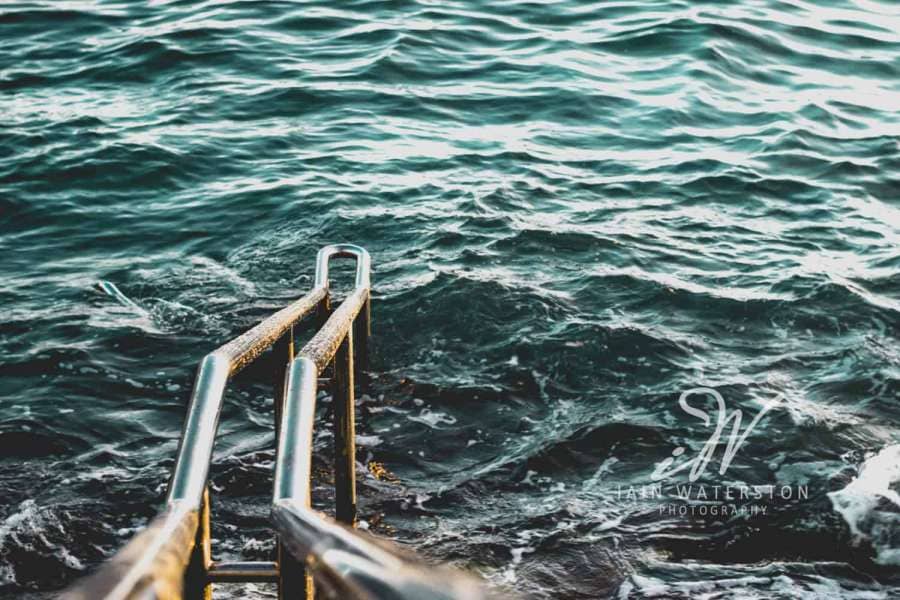
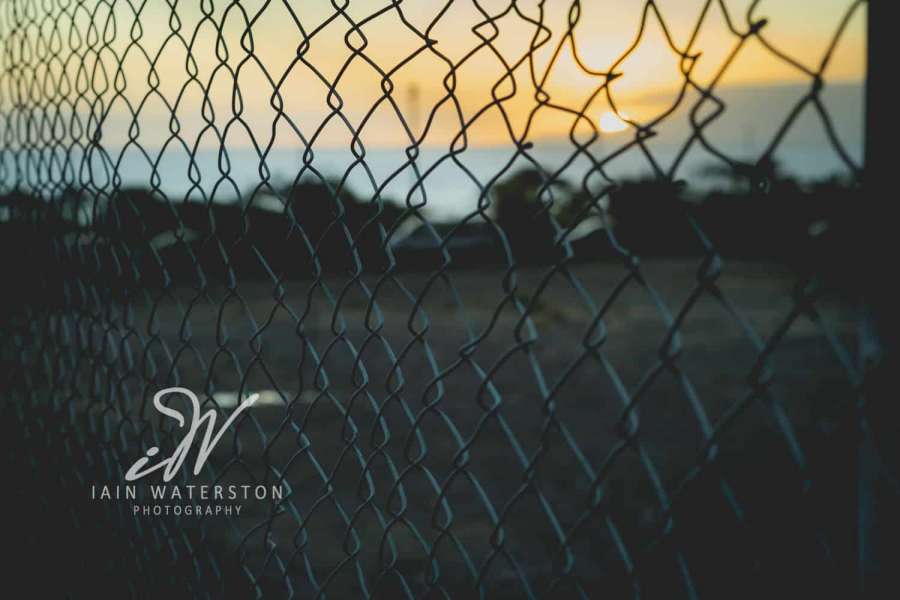
Over the next few paragraphs I will talk about the golden hour and why it’s my favourite type of lighting for photography, when it is and when to use it. My aim here is to keep it light but factual so when you go out to try this for yourself you won’t be trying this all out in a structured manor. The images I have used as examples are not your classic sunrise and sunset images, I have done this to help you see how this type of lighting can turn an otherwise mundane scene into something better but also to help you think creatively when composing an image. Be different to everyone else, that’s what makes photography fun.
“The Golden Hour”
Professional and enthusiast photographers alike swear by the so-called golden hour or the magic hour as it’s also known. It’s also one of the snippets of advice that has stuck with me from my father. You may or may not have heard of this majestic time but trust me when I say it is the time of day with the best lighting…….bar none!
No amount of studio gear and knowledge can recreate the lighting you get from mother earth’s monumental light displays. If there is one thing that can make or break your image more than anything else, then it’s the lighting. How many times has one of your images been butchered due to poor lighting? No jaw-dropping landscape, street scene or stunning portrait model can make up for the quality of lighting. On rare occasions studio lighting can create very nice if not better light than the natural stuff but in particular outdoor photography is very difficult…..actually no…it’s damn near impossible to fully light up with artificial light so you tend to use the natural light available, but when is the best time?
Picture this scene – you have traveled miles or sat for hours waiting to capture that moment in time. You get home after the capture and excitedly open the digital negatives only to find flat, dull, and mediocre images. You then spend hours on photoshop adding stuff in to end up with a shot that looks fake or as people say “that’s been photoshopped,” guilt kicks in, you feel like a rubbish photographer, and the image fades away to the bottom of the pile forever.
So, what can you do? Wouldn’t it be nice to wow the critics when you get the photoshop comment with “well actually I worked out my timings, traveled and waited for hours to get that shot…….it’s all done in camera…..no photoshop” (insert smarmy face and obscene gesture here). Photographers have been dealing with this lighting problem since the first camera came along way before digital and had found a solution for us slackers, that’s right “the golden hour.”

![]()
What Is it? When is it? When should I use it?
The golden hour as you may have guessed isn’t a single hour in the day but in fact two separate points in the day, which are roughly the first hour of light after sunrise and the last hour of light before sunset. In true nonchalant photographer fashion, all timings are estimated, and the exact duration will always vary depending on location, time of year and, well, nature being nature. The thing that makes this time of the day so good is that the sun is at its lowest point in the sky. This produces a soft, diffused light, in turn, giving you a light with less contrast which reduces your chances of losing details in shadows or blowing out the highlights. The warm glow of the sun will accentuate the shadows helping them pick out details or create leading lines adding depth to your image
When should you use this magical light I hear you say? Whenever you can is my answer, but most commonly when taking landscape, cityscapes and seascapes but will also work well for portrait shots and even certain still life scenes. Essentially you should be creative, don’t copy your friends or peers. Be adventurous, break the rule of thirds, take the landscape shot from ground level use the golden hour for an obscure photographic genre.
The thing with the golden hour is preparation, work out your rough timings in advance then be early…..very early, to make sure you don’t miss anything! To work out your timings find your local sunrise and sunset times – I find online the easiest way- then put that high school maths to good use. So “the golden hour” for a sunrise is as it happens and up until roughly an hour after, for a sunset, it is approximately the hour before it happens. To get your accurate….cough….sorry estimated timings subtract an hour from sunrise and two hours for sunset to allow you to be ready for the main event. Just in case I have lost some of you drop outs-
– For a sunrise at 5am be on location for 4am
– For a sunset at 8pm be on location fro 6pm
This will give you plenty of time to set up and be ready for the magic to happen! When planning your timings don’t forgot to factor in travel time too.
This may sound like a lot of hassle but a bonus when shooting around the golden hour is fewer people and distractions to ruin the perfect shot, you can also have a beer or two if you decide to camp out. The downside is you tend to be fumbling about it the dark when you could still be at home in bed or relaxing. Plus, like I said you cannot beat a great sunrise and sunset.

My Top Tips
Before you head out and start cursing yourself for being out at these times keep these tips in mind which should help everything go smoothly, and you can make the most of your time:
Preparation- Clean and pack your kit the night before, recheck it and pack it again then once more before leaving the house. Nothing worse than forgetting your beer….sorry I mean an essential piece of kit.
Setup – Allow plenty of time for travel and setup, you want to be set for your calculated time not the sunrise/set time. When the golden hour starts it does so quickly, so it’s imperative that you are ready to shoot.
Tripod’s – Golden hour times will be very dark, so a sturdy tripod is a must
ISO – Set your ISO as low as you can and use a long exposure.
Filters – Don’t be scared to stick on a CPL, ND, Grad ND or a color filter to experiment with, the can help set you apart from the Joe Bloggs of the photography scene.
Capture the scene – During the golden hour window light will rapidly change the scene, and it will look different as time goes on, keep capturing on the run-up, during and after the golden hour. You may just find your hero shot is actually out with the golden hour!
A Torch – Let’s just say I learned the hard way, take this, so you don’t fall into puddles.
Tips by Iain Waterston
Shooting during the golden hour is without a doubt my favourite type of lighting and has made mediocre images into great ones. It does mean being out with your camera at times when you probably can’t be bother but it’s worth the sacrifice, especially if you take a treat. Get out there and experiment with the golden hours light, don’t settle for a beautiful sunrise or sunset, go for the unexpected, harness the light and bend it to your will!